



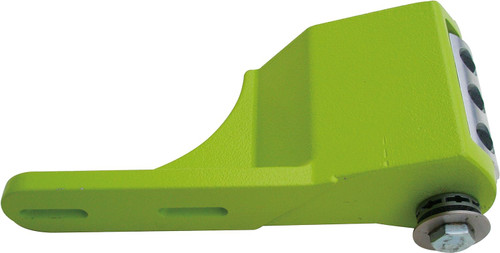
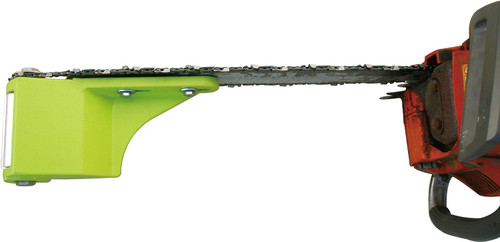
Timber Tuff Log Peeler / Log Debarker Chainsaw Attachment
- Brand
- Timber Tuff
- SKU:
- TMW-58
- UPC:
- 732393005156
- Condition:
- New
- Availability:
- Available for order
Get Involved


Timber Tuff Log Peeler / Log Debarker Chainsaw Attachment
Debarks logs, cuts Grooves and Slots in logs
Attach-able to just about any chainsaw, the Log Peeler / Log Debarker assembles quickly and easily. With sharp blades, the log peeler uses the power of your chainsaw to easily cut through bark and wood; make grooves or notches for your furniture making, post construction, and log building needs. Made of durable steel, the Log Peeler is still lightweight and easy to use.
Log Peeler Features and Specs:
- Attaches to most 65cc or smaller chain Saws with .325 and 3/8" pitch chains; time-saving tool attaches quickly and makes fast work of your debarking tasks
- Constructed of durable Steel with a powder-coat finish to resist corrosion for a long-lasting and reliable tool; features ball bearings on both ends of the Cutter for longer life and added durability
- Lightweight design makes the log peeler effortless and easy to use; bright Green color for easy visibility
- Perfect for farmers, furniture builders, log builders, sawmills, and so much more! 1Year limited manufacturer's parts Warranty
Log Peeler Assembly:
1. A 16” bar chain saw is the recommended chain saw. Use a chain one size up from your current chain saw (Example: For a 16’’ bar chain saw, use a chain that will fit an 18’’ bar).
2. Check for the correct engagement. Be sure that the correct drive sprocket is installed on the Log Peeler by wrapping the chain around the sprocket (.375” and .325” sprockets are included). Install the alternate sprocket by clamping the cutting head carefully in vice and then removing the Spline Adapter. Use caution and make sure to center the lock-washer when you re-assemble.
3. Install the new chain and retract the bar to its minimum length with the chain tension-adjuster. Ensure that the nose sprocket still matches.
4. Mount the Log Peeler on the bar as shown in Diagram A, while attaching the chain on the drive sprocket. Clamp the Log Peeler in place with a small c-clamp or other clamping device.
5. Use the Log Peeler as a guide and drill two and drill two mounting holes 5/16’’ diameter through the chain saw bar. Make sure that the mounting holes do not interfere with the rotation of the Cutting Head. Use the included hardware to install. CAUTION: Do not overtighten the mounting bolts. DO NOT CRUSH the bolting area of the Log Peeler.
6. Adjust the chain tension and test the progress of your assembly by carefully turning the Cutting Head on the Log Peeler. It should move freely and easily. DO NOT OVERTIGHTEN.
7. Before operating, make sure that the bolts securing the blades of the Log Peeler are tight and secure. Check the bolts again after operating the tool for roughly ten minutes. DO NOT OVERTIGHTEN, the chain should move freely and easily.
8. The blades of the Log Peeler come set at depth of 1/32’’. Any attempt to increase this depth could cause shavings to become lodged under the blades and may cause the chain to stretch and may also cause excessive wear on your chain saw.
9. IMPORTANT SAFETY INFORMATION: Do not attempt to cut straight into the wood with the Log Peeler. All chain saw safety rules, regulations, and personal protective equipment still applies while using the Log Peeler ( e.g. Eye and hearing protection, gloves, and leg and foot protection must be worn while using the Log Peeler).
Timber Tuff Log Peeler Diagram and Parts List: Call 318-313-9381 or Email Us to order replacement parts.
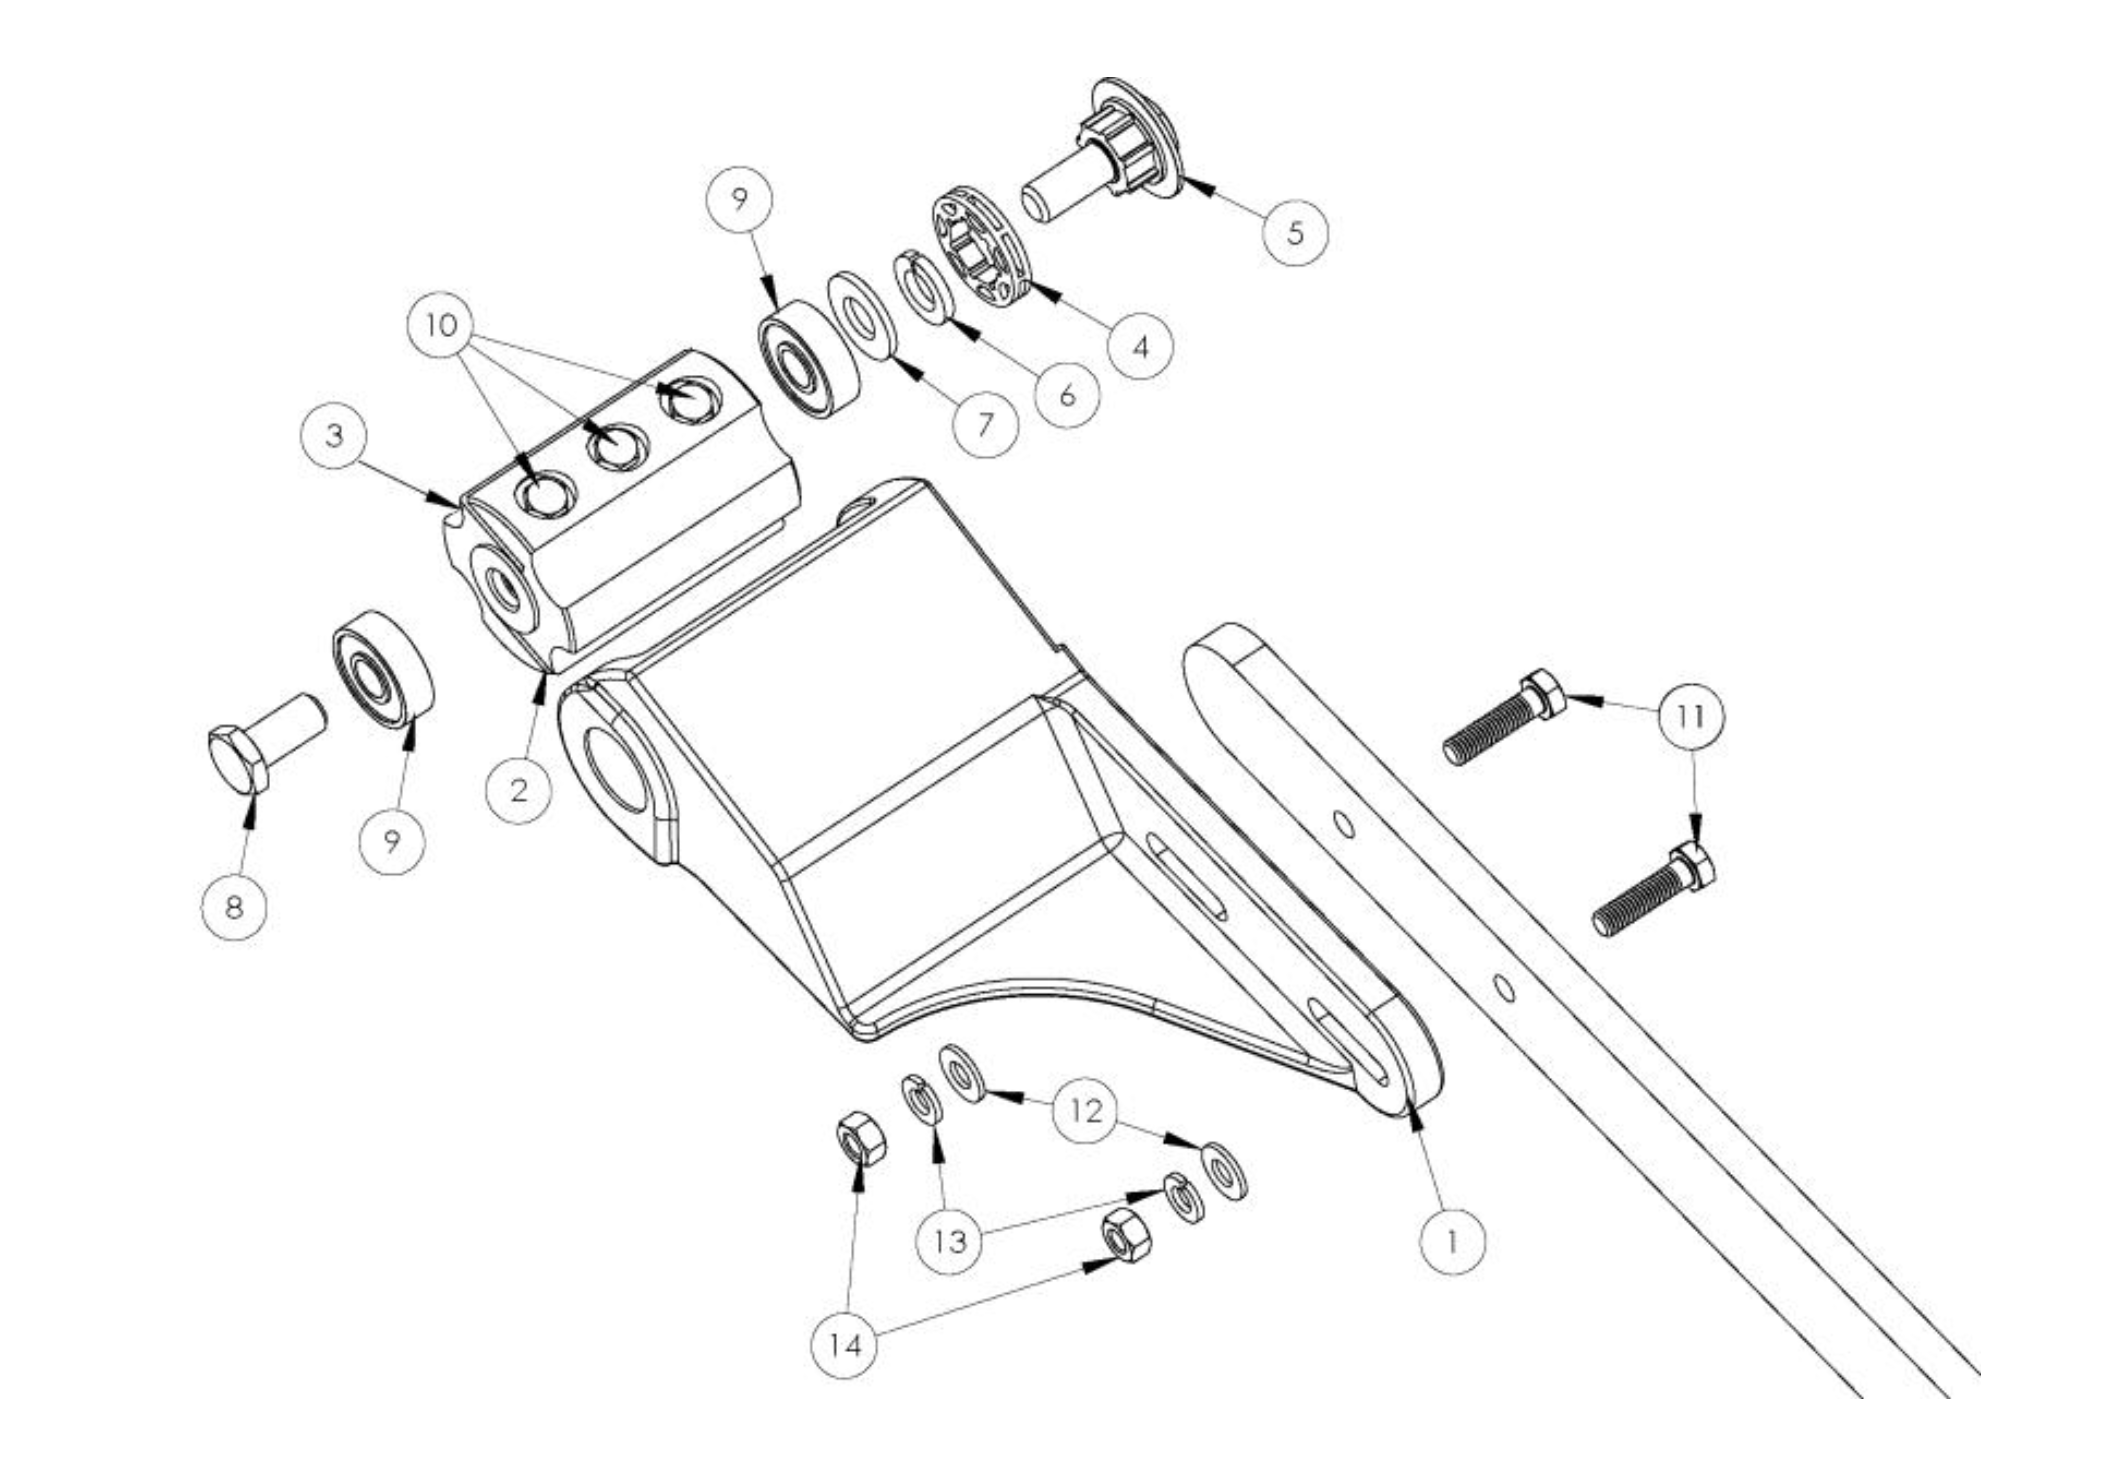
|
Part# |
Description |
Qty. |
Part# |
Description |
Qty. |
|
1 |
Frame |
1 |
8 |
Drive Bolt |
1 |
|
2 |
Cutting Head |
1 |
9 |
Bearing 6201-2RS |
2 |
|
3 |
Blade |
2 |
10 |
Bolt 1/4" |
6 |
|
4 |
Sprocket 3/8” .325 |
1 |
11 |
Bolt 5/16” |
2 |
|
5 |
Spline Adaptor |
1 |
12 |
Flat Washer 5/16” |
2 |
|
6 |
Lock Washer 1/2" |
1 |
13 |
Lock Washer 5/16” |
2 |
|
7 |
Flat Washer 1/2" |
1 |
1 14 |
Nut 5/16” |
2 |
0 Reviews Hide Reviews Show Reviews
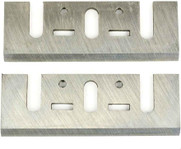
Replacement Blades for Timber Tuff Log Peeler
Timber Tuff
Timber Tuff Log Choker Cable
Timber Tuff


Log Wizard Debarking Tool
Log Wizard


Timber Tuff Lumber Cutting Guide Chainsaw Attachment
Timber Tuff

Timber Tuff Bench Mount Electric Chainsaw Chain Sharpener
Timber Tuff